Introduction
Have you ever needed to boot from a USB drive on your Lenovo Legion laptop? Whether you’re installing a new operating system, running a diagnostic tool, or simply backing up your data, booting from a USB drive is a critical skill. This comprehensive guide will help you navigate the process effortlessly. We’ll cover everything from preparing your USB drive to configuring BIOS settings and troubleshooting common problems. Get ready to dive into the world of USB booting on your Lenovo Legion laptop with confidence and ease.
Preparing Your USB Drive
Before diving into your laptop’s BIOS, the first thing you need to do is prepare your USB drive. Follow these steps to ensure your USB drive is ready for the task:
- Choose the Right USB Drive: Ensure your USB drive has at least 8GB of storage. Larger sizes may be needed depending on what you plan to do.
- Format the USB Drive: Connect the USB drive to your computer. Open the ‘File Explorer,’ right-click on your USB drive, and select ‘Format.’ Opt for the FAT32 file system if the drive size is smaller than 32GB; otherwise, choose NTFS.
- Create a Bootable USB: Download a reliable tool like Rufus or the Windows Media Creation Tool. Open the chosen tool and follow the on-screen instructions to create a bootable USB drive.
Now that your USB drive is ready, it’s time to configure your Lenovo Legion laptop’s BIOS settings.
Configuring BIOS Settings
The BIOS (Basic Input/Output System) settings need to be configured correctly to boot from a USB drive. Here’s how you can do it:
- Enter BIOS: Power off your Lenovo Legion laptop completely. Power it back on and press the ‘F2’ key repeatedly until the BIOS setup screen appears.
- Navigate to Boot Menu: Use the arrow keys to navigate to the ‘Boot’ tab. Here, you will see several boot options listed.
- Enable USB Boot: Look for an option labeled ‘USB Boot’ and ensure it’s enabled. If it isn’t, use the arrow keys to highlight it, and press ‘Enter’ to change its setting.
- Change Boot Order: Still within the ‘Boot’ tab, locate the ‘Boot Priority Order.’ You’ll likely see ‘Windows Boot Manager’ at the top. Use the arrow keys to move ‘USB HDD’ to the top of the list. This makes your system prioritize the USB drive over other devices when booting.
- Save and Exit: Navigate to the ‘Exit’ tab. Select ‘Save Changes and Exit.’ Your laptop will restart, so make sure your USB drive is already plugged in.
With the BIOS correctly configured, you can now focus on the actual process of booting from the USB drive.
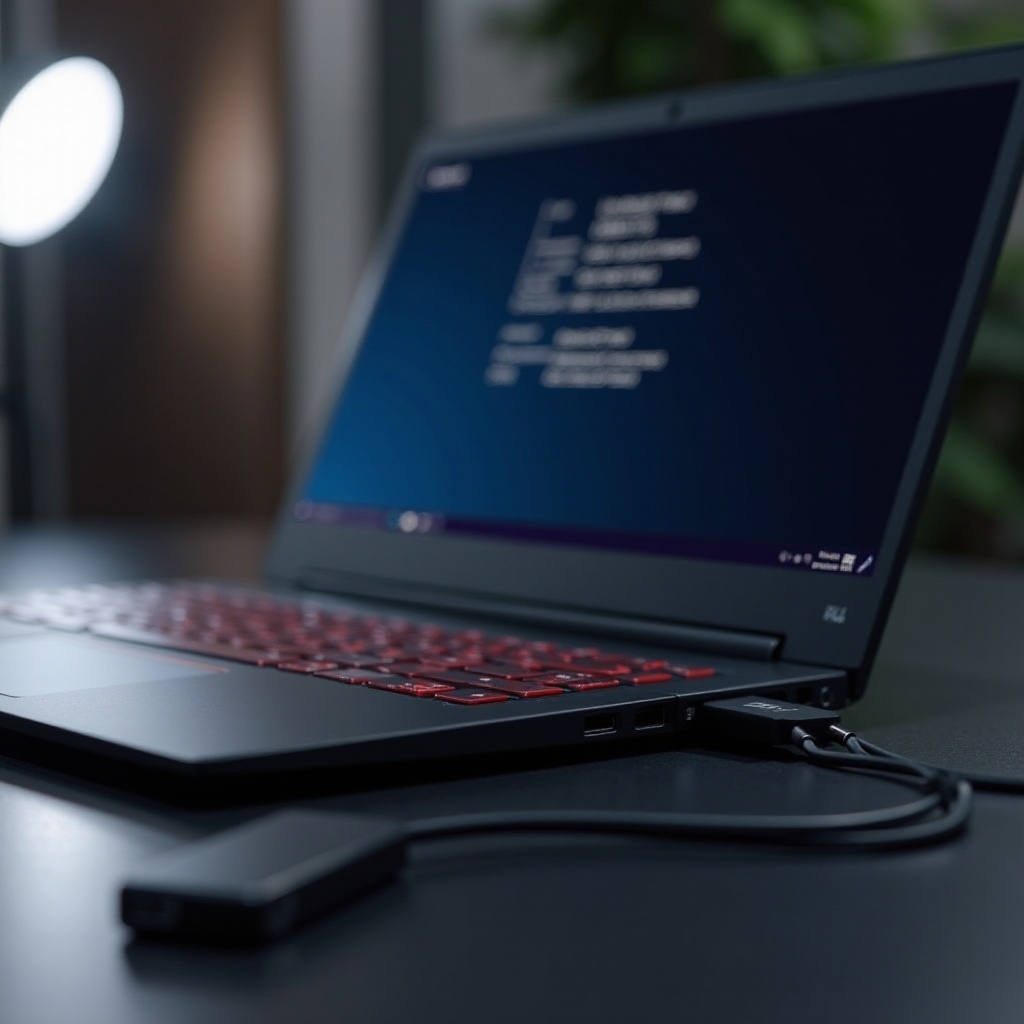
Booting from USB
Once your BIOS settings are configured, booting from the USB drive is straightforward:
- Restart the Laptop: Restart your Lenovo Legion laptop if it’s already on. Ensure the USB drive is still connected to one of the USB ports.
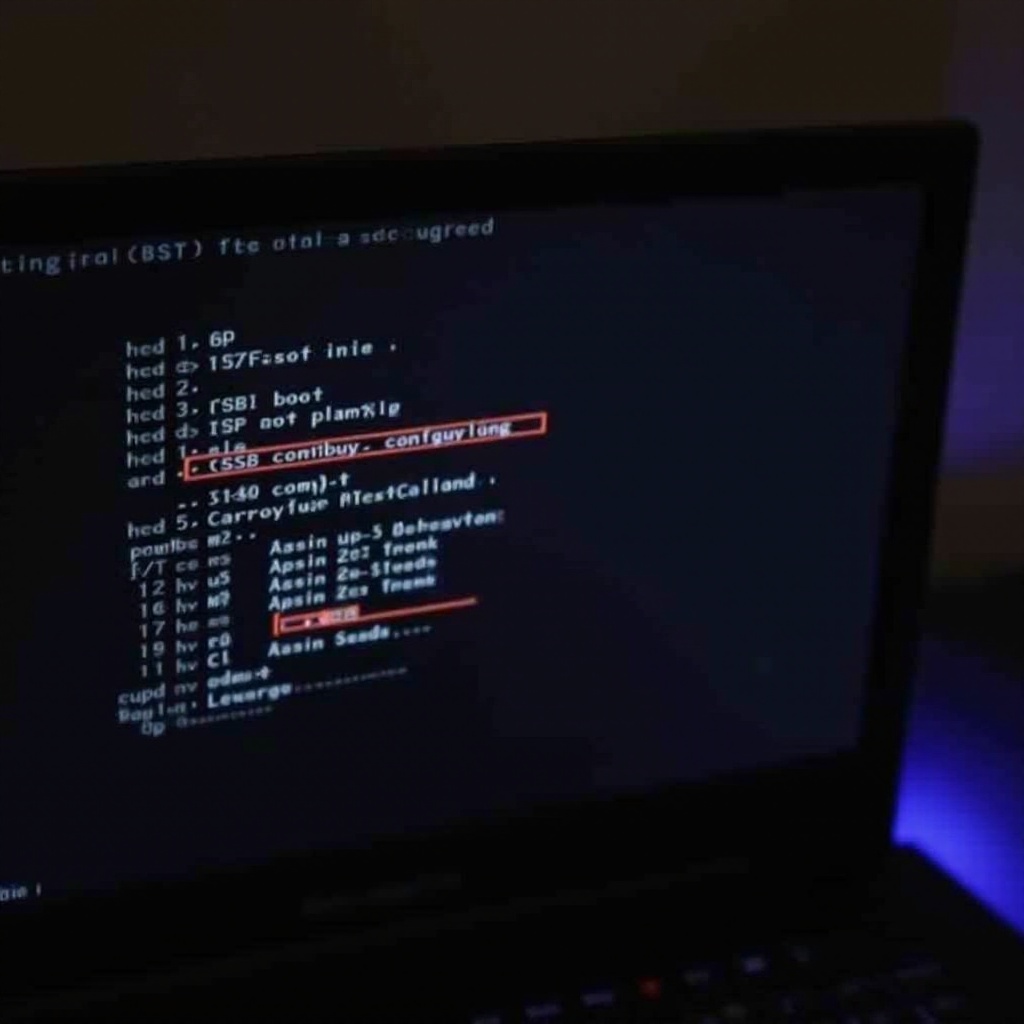
- Enter the Boot Menu: As your laptop starts up, press the ‘F12’ key repeatedly. This action will bring up the Boot Menu.
- Select the USB Drive: Use the arrow keys to navigate through the list of boot options. Select your USB drive from the list and press ‘Enter.
Your Lenovo Legion laptop should now begin to boot from the USB drive. The time it takes will depend on what’s on the USB drive (such as a new operating system installer or a recovery tool).
Troubleshooting Common Issues
Occasionally, things don’t go as planned. Below are some common issues and how to troubleshoot them:
- USB Drive Not Recognized: Ensure your USB drive is fully functional. Try plugging it into another computer to verify. Also, try using a different USB port on the laptop.
- Stuck in Boot Loop: If your laptop keeps restarting without reaching the boot screen, ensure the USB drive is correctly prepared and formatted. You may need to reconfigure the BIOS settings.
- BIOS Not Accessible: If you’re unable to access the BIOS, ensure you’re pressing the ‘F2’ key as soon as the laptop starts. If your model uses a different key, refer to the user manual.
These simple solutions should help you resolve most booting issues.

Conclusion
Booting from a USB drive on your Lenovo Legion laptop is easier than you might think. Following this guide will help you create a bootable USB drive, configure BIOS settings correctly, and successfully boot from the USB. Troubleshooting tips are included to ensure you can handle any problems that might arise. With this knowledge, you’re now capable of installing new operating systems, running diagnostics, and more, all from a simple USB drive. Happy booting!
Frequently Asked Questions
Why is my Lenovo Legion laptop not recognizing the USB drive?
Your laptop may not recognize the USB drive if the USB port is faulty, the USB drive is not properly formatted, or the drive itself is corrupted. Try using another port, ensure the drive’s format is correct, and verify its functionality by connecting it to another computer.
Can I boot from a USB drive with a different OS?
Yes, you can boot from a USB drive with a different operating system, such as Linux or macOS, on your Lenovo Legion laptop. Ensure the USB drive is correctly formatted and created as a bootable drive using appropriate software.
How do I enable USB boot on my Lenovo Legion if the option is not available in BIOS?
If ‘USB Boot’ is not visible in BIOS, ensure your BIOS/UEFI firmware is up to date by visiting the Lenovo support site. Update the firmware if necessary. You can also check for an option labeled ‘Legacy Support’ and enable it, as it’s sometimes required to allow USB booting.